
 工作流任务调度系统
# 工作流任务调度系统:Apache DolphinScheduler
# 一个分布式且易于扩展的可视化工作流调度器系统
# 特点
DolphinScheduler提供了许多易于使用的功能,可加快数据ETL工作开发流程的效率。其主要特点如下:
- 通过拖拽以DAG 图的方式将 Task 按照任务的依赖关系关联起来,可实时可视化监控任务的运行状态;
- 支持丰富的任务类型;
- 支持工作流定时调度、依赖调度、手动调度、手动暂停/停止/恢复,同时支持失败重试/告警、从指定节点恢复失败、Kill 任务等操作;
- 支持工作流全局参数及节点自定义参数设置;
- 支持集群HA,通过 Zookeeper实现 Master 集群和 Worker 集群去中心化;
- 支持工作流运行历史树形/甘特图展示、支持任务状态统计、流程状态统计;
- 支持补数,并行或串行回填数据。
# 系统架构
 b
b
# 系统部署
本文介绍的是独立部署方式,更多部署方式请参考官网:https://dolphinscheduler.apache.org/en-us/docs/latest/user_doc/cluster-deployment.html (opens new window)
# 1、安装基础软件(需要的软件请自行安装)
- PostgreSQL (8.2.15+) 或 MySQL (5.7) : 选择一个,如果使用 MySQL,则需要 JDBC Driver 5.1.47+
- JDK (opens new window) (1.8+) :必需。仔细检查在 /etc/profile 中配置 JAVA_HOME 和 PATH 环境变量
- ZooKeeper (3.4.6+):必需
- pstree 或 psmisc :Mac OS 需要“pstree”,Fedora/Red/Hat/CentOS/Ubuntu/Debian 需要“psmisc”
- Hadoop (2.6+) 或 MinIO:可选。如果需要资源功能,单机部署可以选择本地目录作为上传目的地(这里不需要部署Hadoop)。当然你也可以选择上传到Hadoop或者MinIO。
Tips: DolphinScheduler itself does not rely on Hadoop, Hive, Spark, only use their clients to run corresponding task.
# 2、下载二进制tar.gz包。
- 请下载最新版本安装包到服务器部署目录。例如,使用/opt/dolphinscheduler 作为安装和部署目录。下载地址:下载 (opens new window),下载包,移动到部署目录解压。
# Create the deployment directory. Please do not choose a high-privilege directory such as /root or /home.
mkdir -p /opt/dolphinscheduler;
cd /opt/dolphinscheduler;

# uncompress
tar -zxvf apache-dolphinscheduler-1.3.8-bin.tar.gz -C /opt/dolphinscheduler;

# rename
mv apache-dolphinscheduler-1.3.8-bin  dolphinscheduler-bin
2
3
4
5
6
7
8
9
# 3、创建部署用户并分配目录操作权限
- 创建部署用户,一定要配置sudo secret-free。这里以创建 dolphinscheduler 用户为例。
# To create a user, you need to log in as root and set the deployment user name.
useradd dolphinscheduler;

# Set the user password, please modify it yourself.
echo "dolphinscheduler123" | passwd --stdin dolphinscheduler

# Configure sudo secret-free
echo 'dolphinscheduler  ALL=(ALL)  NOPASSWD: NOPASSWD: ALL' >> /etc/sudoers
sed -i 's/Defaults    requirett/#Defaults    requirett/g' /etc/sudoers

# Modify the directory permissions so that the deployment user has operation permissions on the dolphinscheduler-bin directory
chown -R dolphinscheduler:dolphinscheduler dolphinscheduler-bin
 Notes:
 - Because the task execution is based on 'sudo -u {linux-user}' to switch among different Linux users to implement multi-tenant job running, so the deployment user must have sudo permissions and is secret-free. If beginner learners don’t understand, you can ignore this point for now.
 - Please comment out line "Defaults requirett", if it present in "/etc/sudoers" file.
 - If you need to use resource upload, you need to assign user the permission to operate the local file system, HDFS or MinIO.
2
3
4
5
6
7
8
9
10
11
12
13
14
15
16
# 4、SSH免密配置
切换到部署用户,配置SSH本地免密登录
su dolphinscheduler;

ssh-keygen -t rsa -P '' -f ~/.ssh/id_rsa
cat ~/.ssh/id_rsa.pub >> ~/.ssh/authorized_keys
chmod 600 ~/.ssh/authorized_keys
1
2
3
4
5
注意:如果配置成功,dolphinscheduler 用户在执行命令时不需要输入密码ssh localhost。
# 5、数据库初始化
- 登录数据库,默认数据库类型为PostgreSQL。如果选择MySQL,需要将mysql-connector-java驱动包添加到DolphinScheduler的lib目录下。
mysql -uroot -p
- 登录数据库命令行窗口后,执行数据库初始化命令并设置用户和密码。
注意:{user} 和 {password} 需要替换为特定的数据库用户名和密码。
   mysql> CREATE DATABASE dolphinscheduler DEFAULT CHARACTER SET utf8 DEFAULT COLLATE utf8_general_ci;
   mysql> GRANT ALL PRIVILEGES ON dolphinscheduler.* TO '{user}'@'%' IDENTIFIED BY '{password}';
   mysql> GRANT ALL PRIVILEGES ON dolphinscheduler.* TO '{user}'@'localhost' IDENTIFIED BY '{password}';
   mysql> flush privileges;
2
3
4
创建表并导入基本数据
- 在conf目录下的datasource.properties中修改如下配置。
vi conf/datasource.properties1- 如果选择Mysql,请注释掉PostgreSQL的相关配置(反之亦然),还需要手动添加【[mysql-connector-java驱动jar](https://downloads.mysql.com/archives/cj/ (opens new window) )] 打包到lib目录,然后正确配置数据库连接信息。
  #postgre
  #spring.datasource.driver-class-name=org.postgresql.Driver
  #spring.datasource.url=jdbc:postgresql://localhost:5432/dolphinscheduler
  # mysql
  spring.datasource.driver-class-name=com.mysql.jdbc.Driver
  spring.datasource.url=jdbc:mysql://xxx:3306/dolphinscheduler?useUnicode=true&characterEncoding=UTF-8&allowMultiQueries=true     # Replace the correct IP address
  spring.datasource.username=xxx						# replace the correct {username} value
  spring.datasource.password=xxx						# replace the correct {password} value
1
2
3
4
5
6
7
8- 修改保存后,在脚本目录下执行**create-dolphinscheduler.sh (opens new window)**。
sh script/create-dolphinscheduler.sh1
注意:如果你执行上面的脚本和报告“/斌/ java的:没有这样的文件或目录”的错误,请设置JAVA_HOME和/ etc / profile文件的PATH变量。
# 6、修改运行时参数。
修改
dolphinscheduler_env.sh'conf/env'目录下文件中的环境变量(以'/opt/soft'下安装的相关软件为例)export HADOOP_HOME=/opt/soft/hadoop export HADOOP_CONF_DIR=/opt/soft/hadoop/etc/hadoop #export SPARK_HOME1=/opt/soft/spark1 export SPARK_HOME2=/opt/soft/spark2 export PYTHON_HOME=/opt/soft/python export JAVA_HOME=/opt/soft/java export HIVE_HOME=/opt/soft/hive export FLINK_HOME=/opt/soft/flink export DATAX_HOME=/opt/soft/datax/bin/datax.py export PATH=$HADOOP_HOME/bin:$SPARK_HOME2/bin:$PYTHON_HOME:$JAVA_HOME/bin:$HIVE_HOME/bin:$PATH:$FLINK_HOME/bin:$DATAX_HOME:$PATH ``` `Note: This step is very important. For example, JAVA_HOME and PATH must be configured. Those that are not used can be ignored or commented out. If you can not find dolphinscheduler_env.sh, please run ls -a.`1
2
3
4
5
6
7
8
9
10
11
12
13
14创建JDK软链接到/usr/bin/java(仍以JAVA_HOME=/opt/soft/java为例)
sudo ln -s /opt/soft/java/bin/java /usr/bin/java1修改一键部署配置文件中的参数
conf/config/install_config.conf,特别注意以下参数的配置。# choose mysql or postgresql dbtype="mysql" # Database connection address and port dbhost="localhost:3306" # database name dbname="dolphinscheduler" # database username username="xxx" # database password # NOTICE: if there are special characters, please use the \ to escape, for example, `[` escape to `\[` password="xxx" # Zookeeper address, localhost:2181, remember port 2181 zkQuorum="localhost:2181" # Note: the target installation path for dolphinscheduler, please do not use current path (pwd) installPath="/opt/soft/dolphinscheduler" # deployment user # Note: the deployment user needs to have sudo privileges and permissions to operate hdfs. If hdfs is enabled, the root directory needs to be created by itself deployUser="dolphinscheduler" # alert config,take QQ email for example # mail protocol mailProtocol="SMTP" # mail server host mailServerHost="smtp.qq.com" # mail server port # note: Different protocols and encryption methods correspond to different ports, when SSL/TLS is enabled, port may be different, make sure the port is correct. mailServerPort="25" # mail sender mailSender="xxx@qq.com" # mail user mailUser="xxx@qq.com" # mail sender password # note: The mail.passwd is email service authorization code, not the email login password. mailPassword="xxx" # Whether TLS mail protocol is supported,true is supported and false is not supported starttlsEnable="true" # Whether TLS mail protocol is supported,true is supported and false is not supported。 # note: only one of TLS and SSL can be in the true state. sslEnable="false" # note: sslTrust is the same as mailServerHost sslTrust="smtp.qq.com" # resource storage type:HDFS,S3,NONE resourceStorageType="HDFS" # here is an example of saving to a local file system # Note: If you want to upload resource file(jar file and so on)to HDFS and the NameNode has HA enabled, you need to put core-site.xml and hdfs-site.xml of hadoop cluster in the installPath/conf directory. In this example, it is placed under /opt/soft/dolphinscheduler/conf, and Configure the namenode cluster name; if the NameNode is not HA, modify it to a specific IP or host name. defaultFS="file:///data/dolphinscheduler" # if not use hadoop resourcemanager, please keep default value; if resourcemanager HA enable, please type the HA ips ; if resourcemanager is single, make this value empty # Note: For tasks that depend on YARN to execute, you need to ensure that YARN information is configured correctly in order to ensure successful execution results. yarnHaIps="192.168.xx.xx,192.168.xx.xx" # if resourcemanager HA enable or not use resourcemanager, please skip this value setting; If resourcemanager is single, you only need to replace yarnIp1 to actual resourcemanager hostname. singleYarnIp="yarnIp1" # resource store on HDFS/S3 path, resource file will store to this hadoop hdfs path, self configuration, please make sure the directory exists on hdfs and have read write permissions。/dolphinscheduler is recommended resourceUploadPath="/data/dolphinscheduler" # specify the user who have permissions to create directory under HDFS/S3 root path hdfsRootUser="hdfs" # api server port apiServerPort="12345" # On which machines to deploy the DS service, choose localhost for this machine ips="localhost" # ssh port, default 22 # Note: if ssh port is not default, modify here sshPort="22" # run master machine masters="localhost" # run worker machine workers="localhost" # run alert machine alertServer="localhost" # run api machine apiServers="localhost"1
2
3
4
5
6
7
8
9
10
11
12
13
14
15
16
17
18
19
20
21
22
23
24
25
26
27
28
29
30
31
32
33
34
35
36
37
38
39
40
41
42
43
44
45
46
47
48
49
50
51
52
53
54
55
56
57
58
59
60
61
62
63
64
65
66
67
68
69
70
71
72
73
74
75
76
77
78
79
80
81
82
83
84
85
86
87
88
89
90
91
92
93
94
95
96
97
98*注意:*如果您需要上传资源功能,请执行以下命令:
sudo mkdir /data/dolphinscheduler
sudo chown -R dolphinscheduler:dolphinscheduler /data/dolphinscheduler
1
2
# 7、自动化部署
切换到部署用户,执行一键部署脚本
sh install.shNote: For the first deployment, the following message appears in step 3 of `3, stop server` during operation. This message can be ignored. sh: bin/dolphinscheduler-daemon.sh: No such file or directory1
2
3脚本完成后,将启动以下 5 个服务。使用
jps命令检查服务是否启动(jps自带java JDK)
    MasterServer         ----- master service
    WorkerServer         ----- worker service
    LoggerServer         ----- logger service
    ApiApplicationServer ----- api service
    AlertServer          ----- alert service
2
3
4
5
如果以上服务正常启动,则自动部署成功。
部署成功后,可以查看日志。日志存储在日志文件夹中。
 logs/
    ├── dolphinscheduler-alert-server.log
    ├── dolphinscheduler-master-server.log
    |—— dolphinscheduler-worker-server.log
    |—— dolphinscheduler-api-server.log
    |—— dolphinscheduler-logger-server.log
2
3
4
5
6
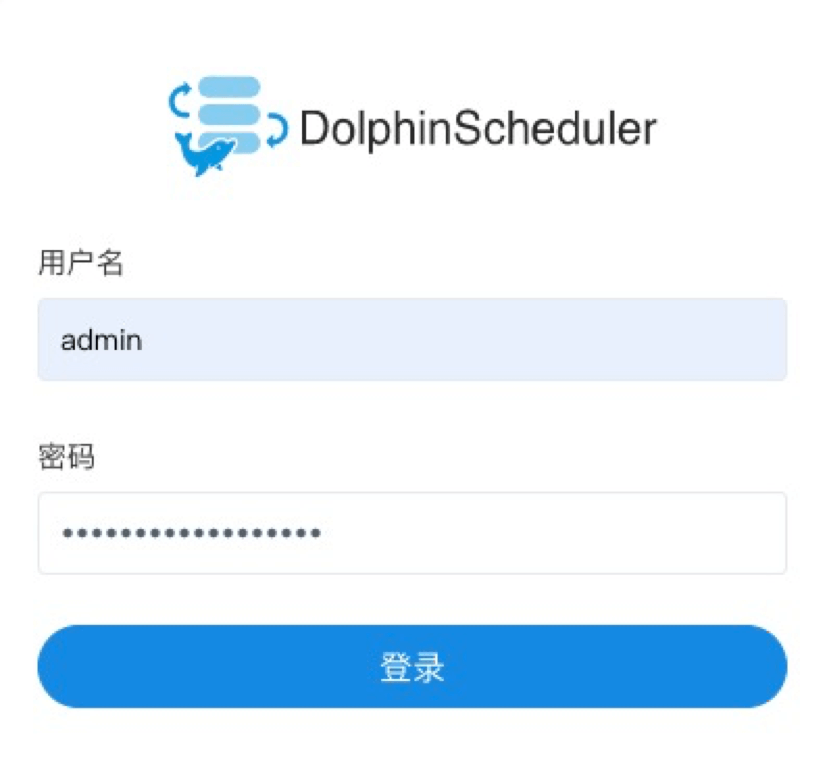
# 8、登录
访问首页地址,接口IP(自行修改) http://ip:12345/dolphinscheduler
# 9、启动和停止服务
停止所有服务
sh ./bin/stop-all.sh启动所有服务
sh ./bin/start-all.sh启动和停止主服务
sh ./bin/dolphinscheduler-daemon.sh start master-server
sh ./bin/dolphinscheduler-daemon.sh stop master-server
2
- 启动和停止工作服务
sh ./bin/dolphinscheduler-daemon.sh start worker-server
sh ./bin/dolphinscheduler-daemon.sh stop worker-server
2
- 启动和停止api服务
sh ./bin/dolphinscheduler-daemon.sh start api-server
sh ./bin/dolphinscheduler-daemon.sh stop api-server
2
- 启动和停止记录器服务
sh ./bin/dolphinscheduler-daemon.sh start logger-server
sh ./bin/dolphinscheduler-daemon.sh stop logger-server
2
- 启动和停止警报服务
sh ./bin/dolphinscheduler-daemon.sh start alert-server
sh ./bin/dolphinscheduler-daemon.sh stop alert-server
Note: Please refer to the "Architecture Design" section for service usage
2
3
项目地址:https://github.com/apache/dolphinscheduler
- 01
- 保姆级教程 用DeepSeek+飞书,批量写文案、写文章,太高效了06-06
- 03
- 熬夜做PPT?AI一键生成高逼格幻灯片,效率提升10倍!06-06